How to split a screen into zones
Layouts allow you to split the screen into zones, each with its own playlist. A zone can be a separate area of the screen, such as a sidebar, or a transparent overlay on top of the main content, such as a ticker strip along the bottom or a logo in the corner.
AbleSign comes with a set of preset layouts, and you can create your own with up to four zones. In this example we make a copy of the Main + sidebar preset, change it into a narrower sidebar in the layout editor, and apply it to a screen.
Getting started
AbleSign player version 2.7.0 or later is required in order to display zones. Low performance devices with 1GB of memory or less are restricted to displaying the main zone only.
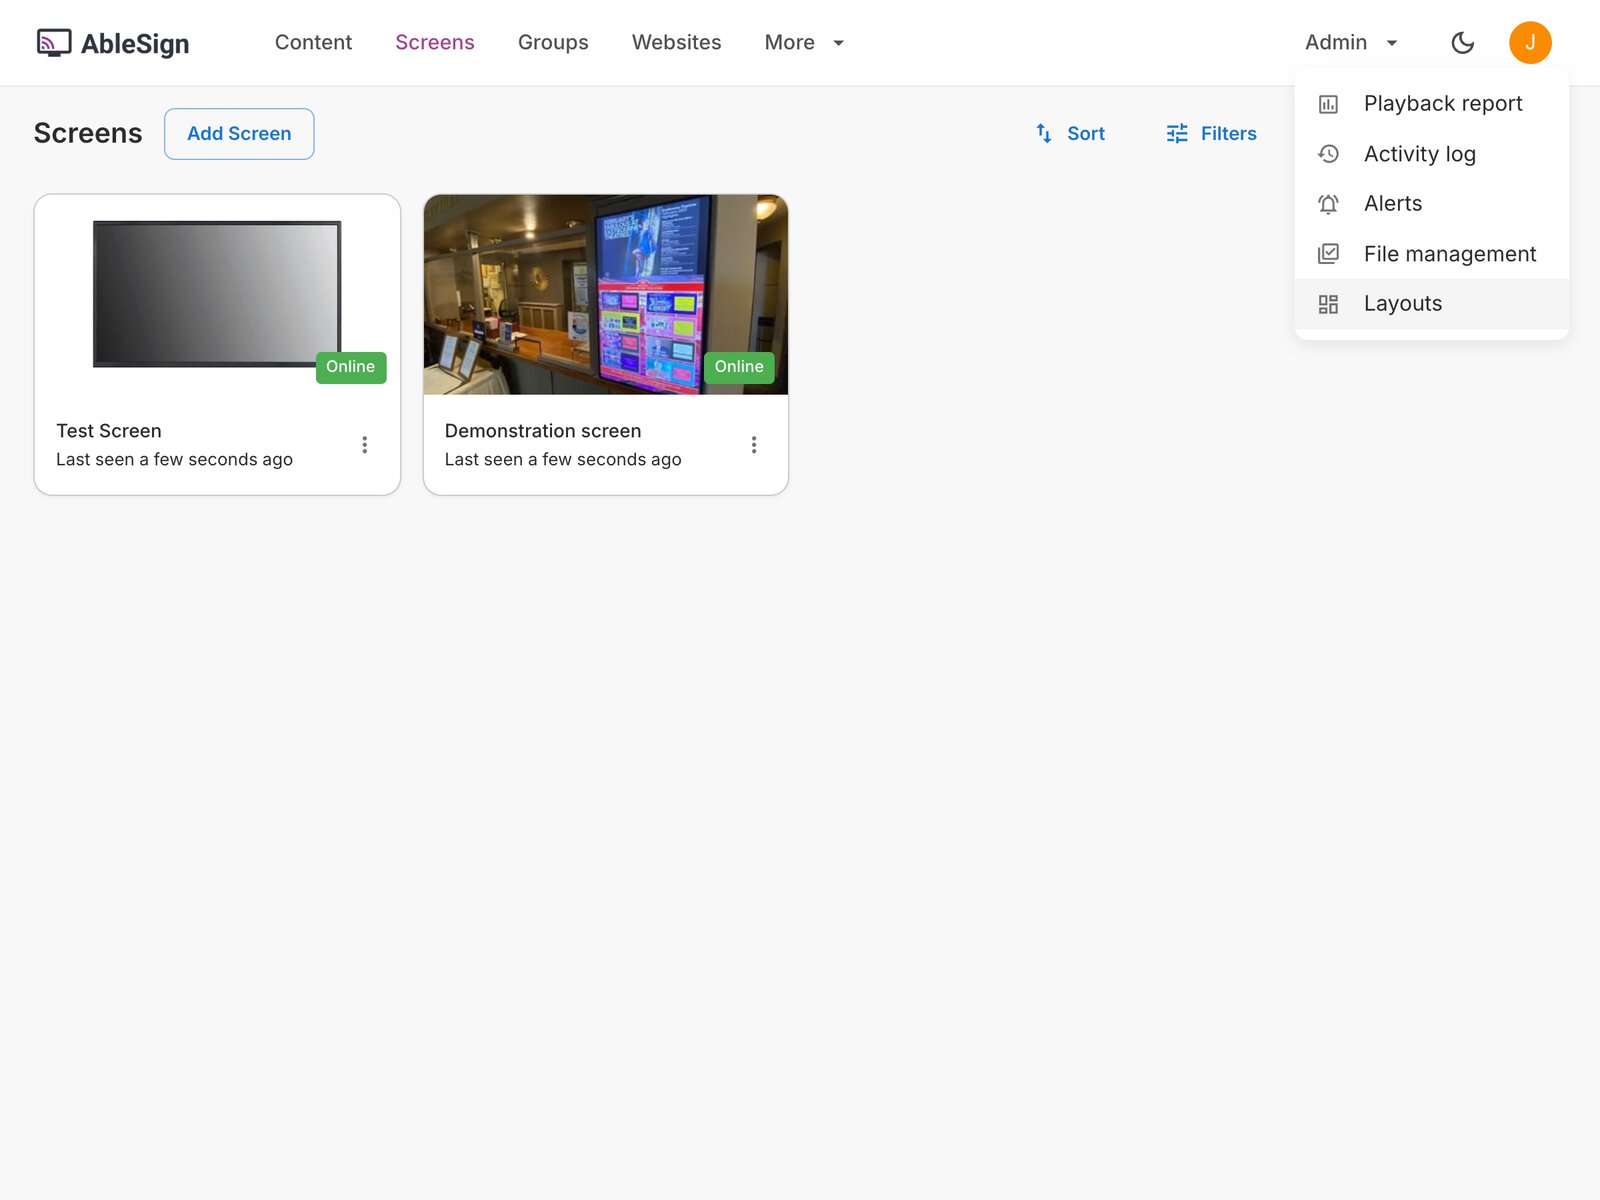
Layouts are managed from the Layouts page. Open the Admin menu at the top right and choose Layouts.
The Layouts page
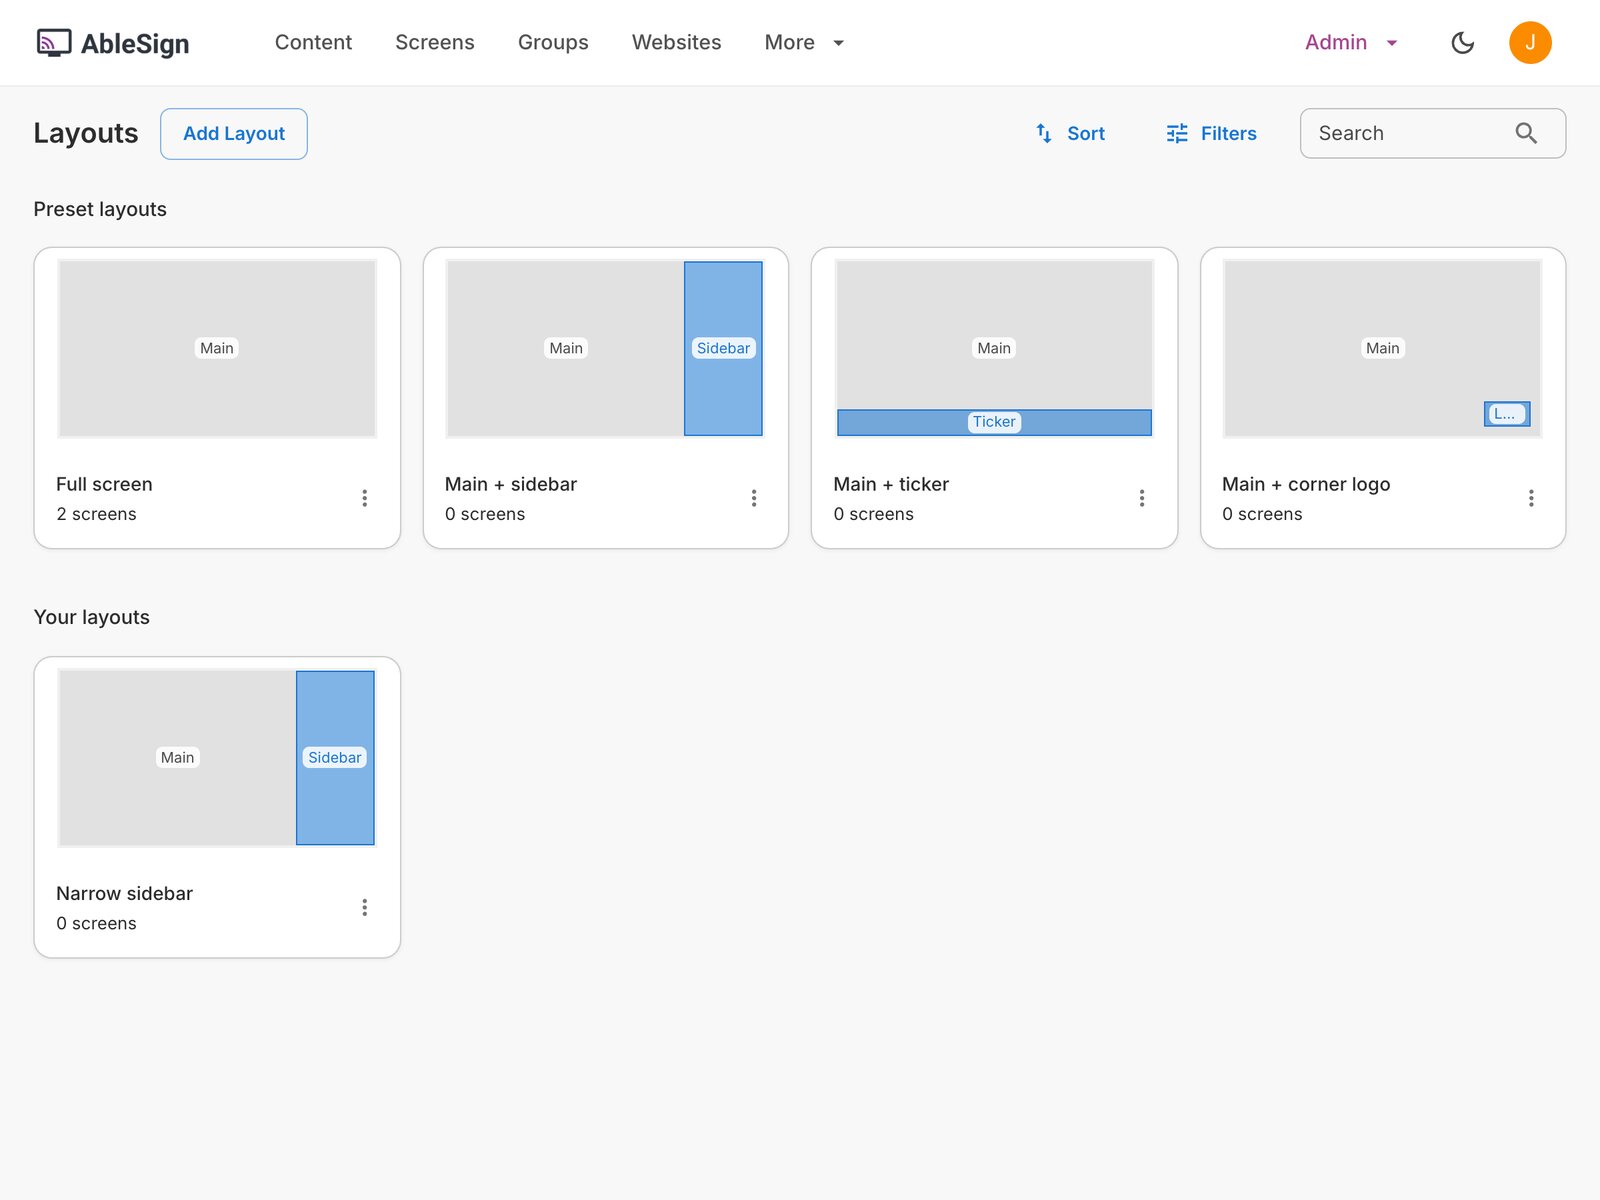
The Layouts page lists the preset layouts, with the number of screens using each, followed by your own layouts.
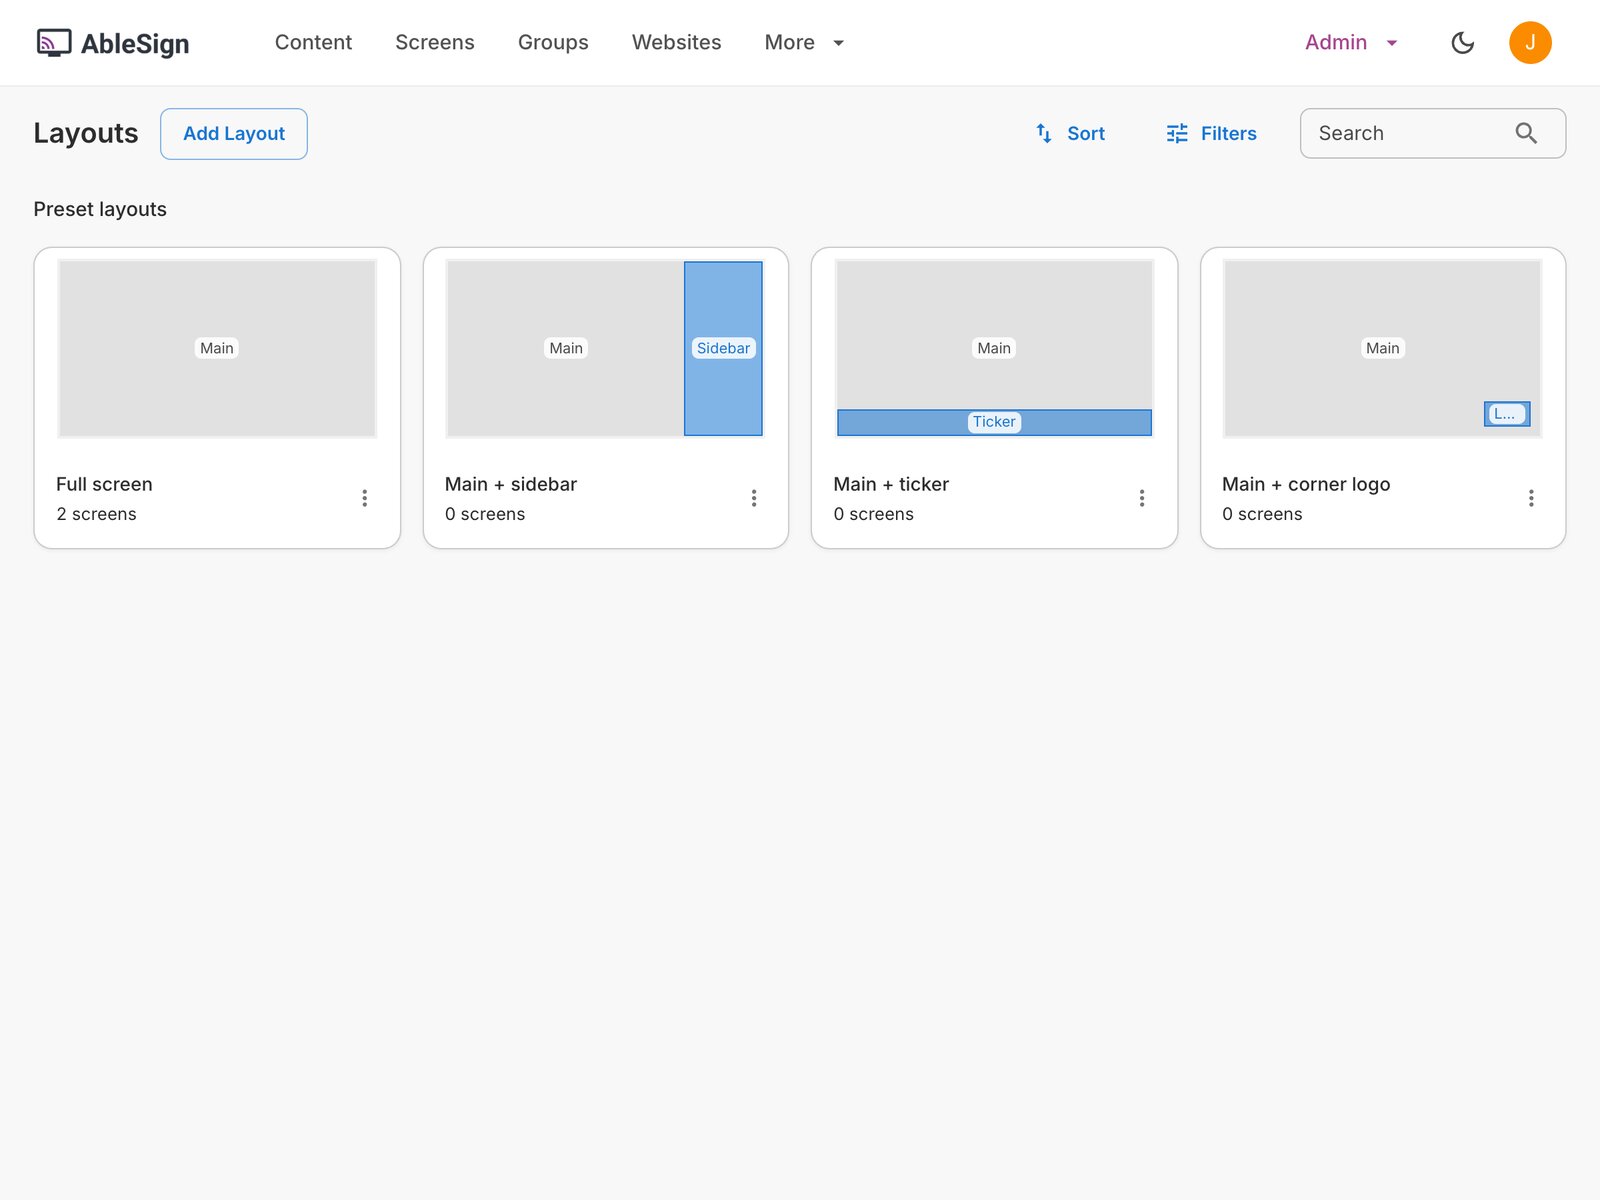
Four preset layouts are included:
- Full screen: a single zone, called Main, that fills the screen. Every screen starts with this layout.
- Main + sidebar: the main zone takes the left three quarters of the screen and a sidebar takes the right quarter. The sidebar has a black background.
- Main + ticker: the main zone fills the screen and a transparent strip across the bottom sits on top of it, for a ticker or a message bar.
- Main + corner logo: the main zone fills the screen and a small transparent zone sits in the lower right corner, for a logo or a clock.
A preset cannot be changed, but you can make a copy of it and edit the copy.
Make a copy of a preset
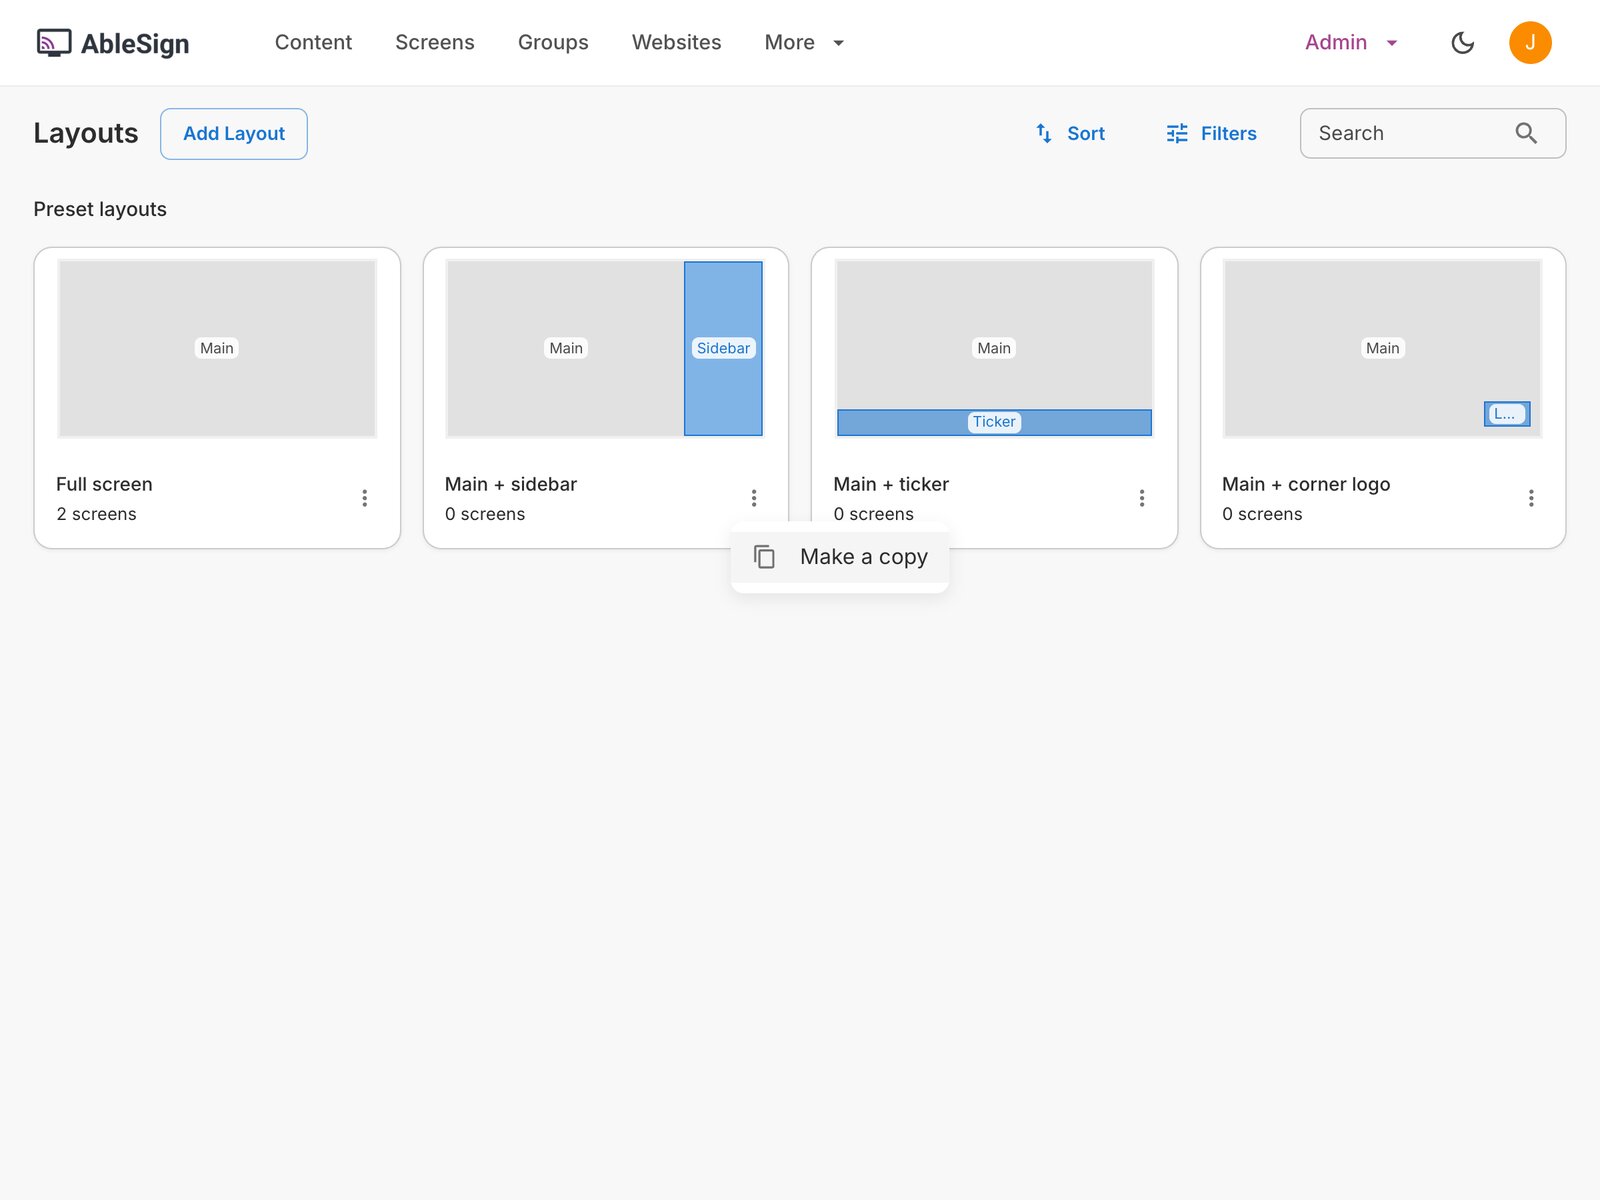
Open the menu of the Main + sidebar preset and choose Make a copy.
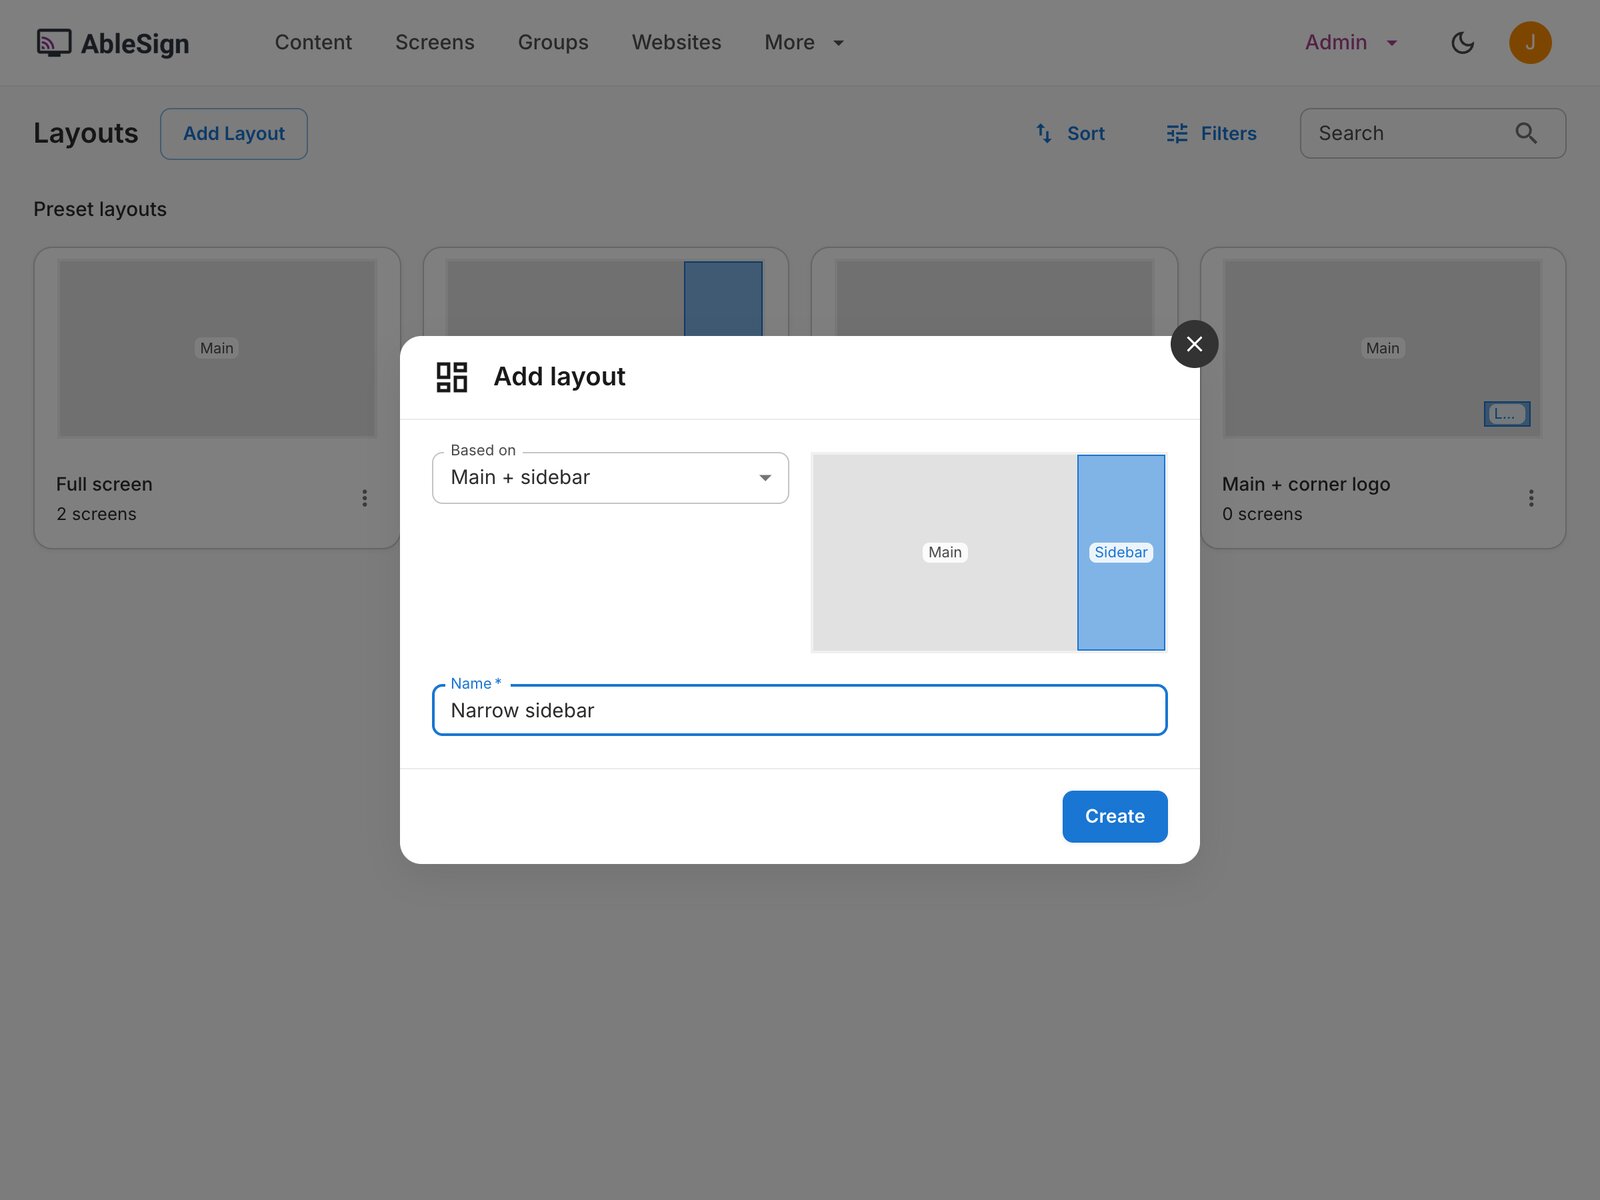
The Add layout dialog opens with Main + sidebar selected under Based on, and the drawing beside it shows the zones the new layout starts with. Enter a name for the layout, Narrow sidebar in this example, and click Create.
The new layout appears under Your layouts. It is a copy of the preset, so for now it still has the wide sidebar. Click it to open the layout editor.
The drawing on the left shows the zones as they will appear on the screen. The panel on the right lists the zones and shows the settings of the selected zone.
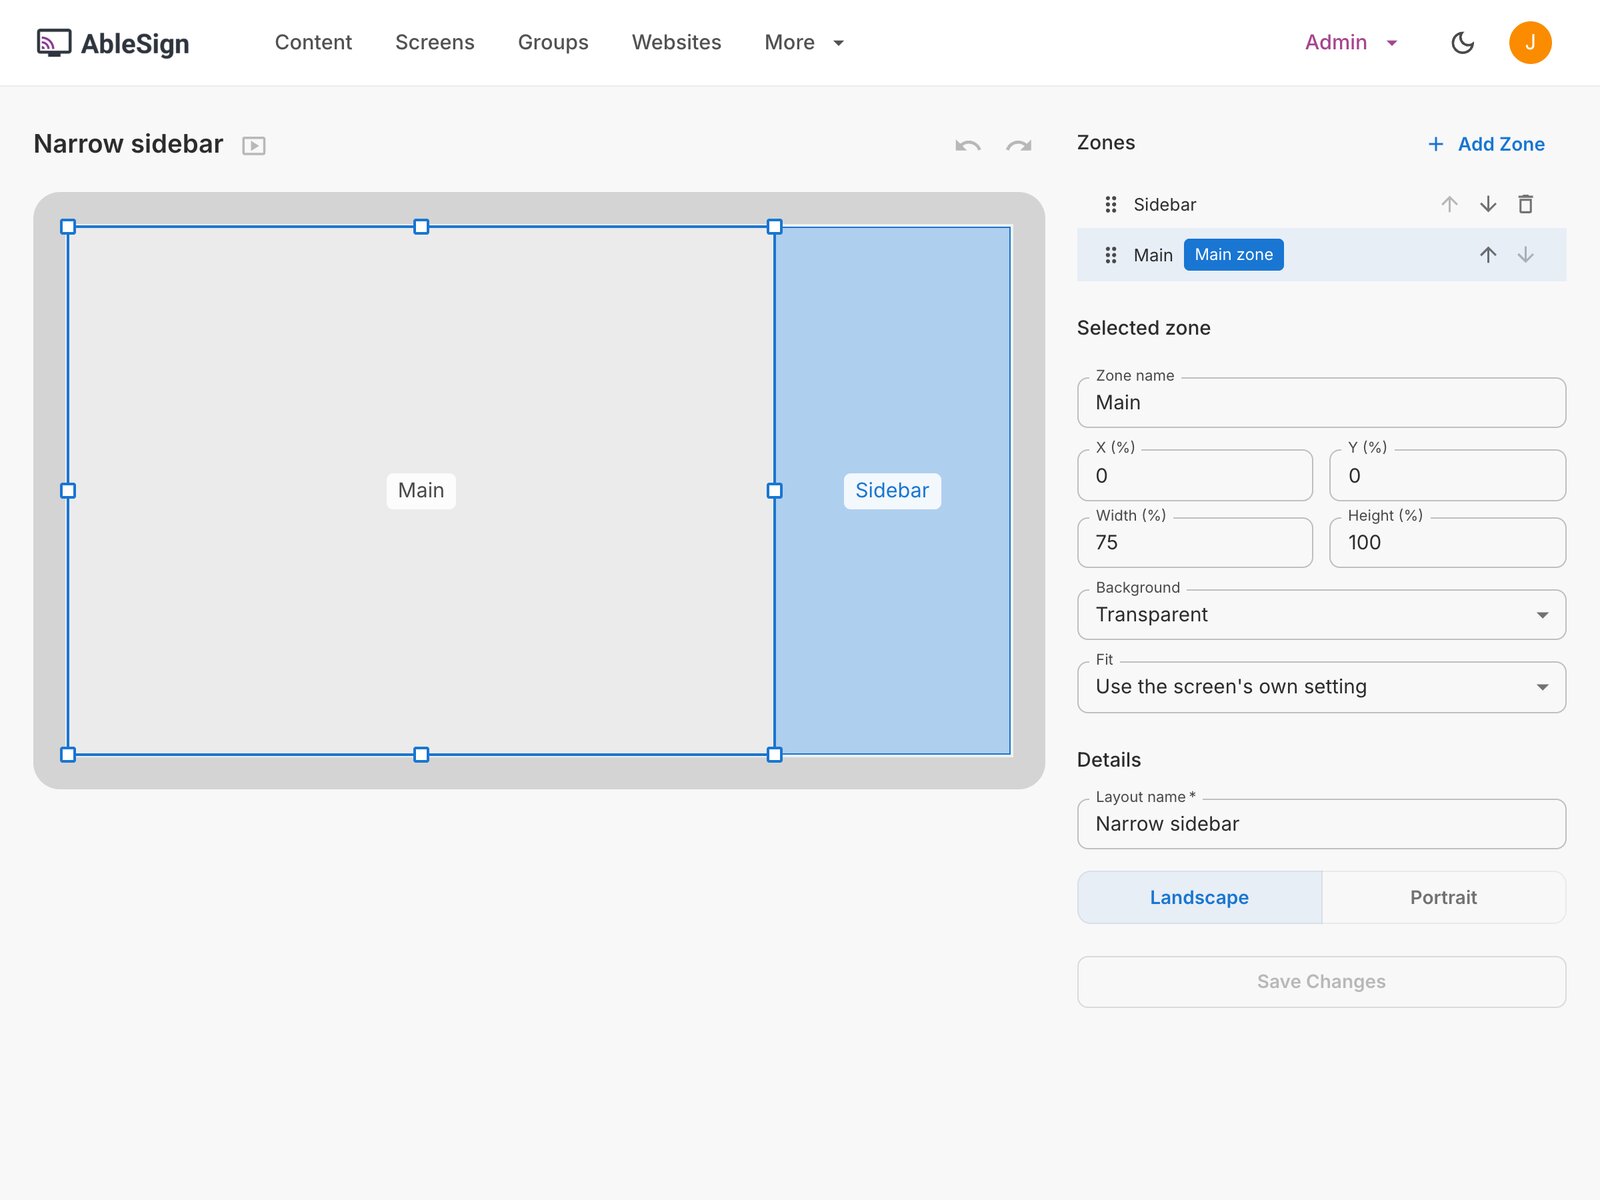
Click a zone in the drawing or in the list to select it. Here the Main zone is selected. Its position and size are a percentage of the screen: it starts at the top left corner (X 0, Y 0), is 75% of the screen wide and the full height. The sidebar starts at X 75 and is 25% wide, with a black background.
Each zone has the following settings:
- Zone name: shown on the zone’s tab on the screen page.
- X, Y, Width and Height: the zone’s position and size as a percentage of the screen. You can also drag a zone in the drawing to move it, drag its handles to resize it, or nudge it with the arrow keys.
- Background: for every zone except the main zone, which always sits on the screen’s black background. Transparent lets the zone underneath show through, for an overlay such as a logo.
- Fit: whether content is shown in full, with bars if its shape differs from the zone, or zoomed to fill the zone.
The zones list also sets which zone is in front: the top of the list is the front. Use the arrows to move a zone forward or backward where zones overlap, and the bin to remove a zone. Click Add Zone to add another; a layout can have up to four zones. The main zone cannot be removed.
In this example we are going to make the sidebar narrower. Select Sidebar, set its X to 85 and its Width to 15, then select Main and set its Width to 85 so that it reaches the sidebar. The layout’s name and orientation are under Details, where you can change them.
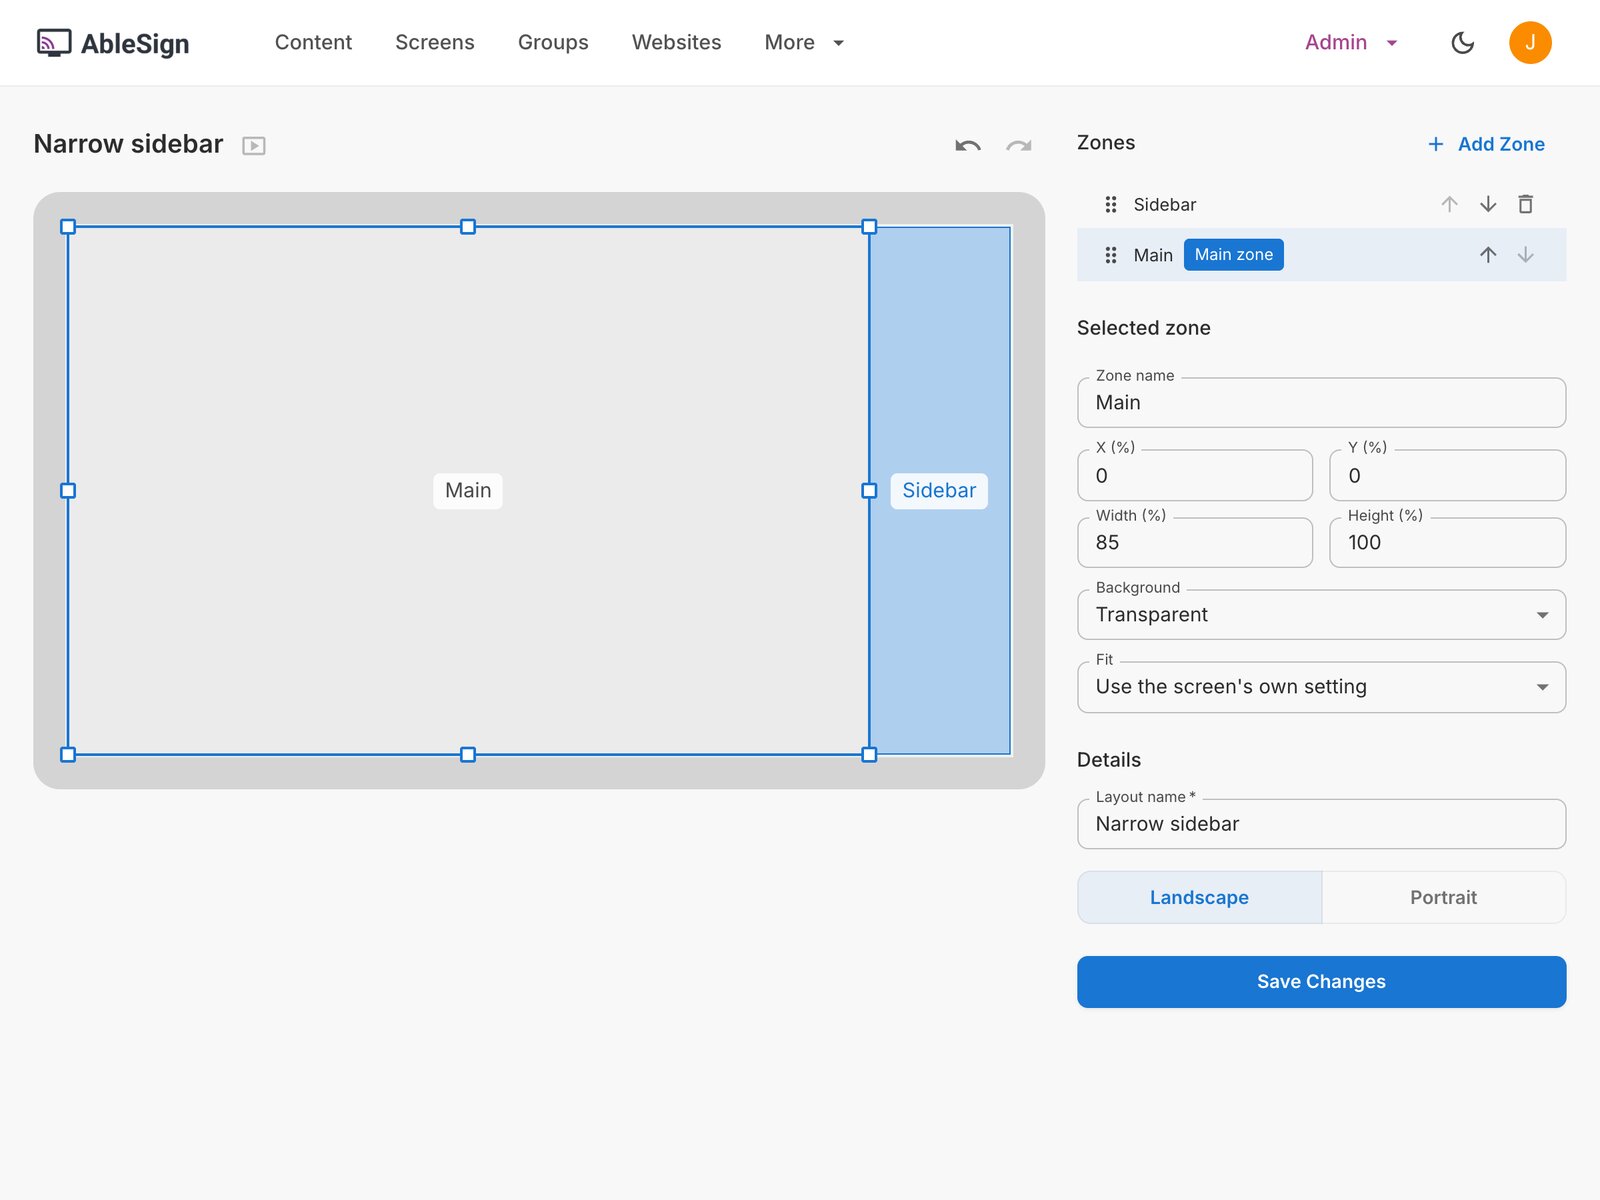
Check that Landscape is selected under Details, then click Save Changes. Click back to return to the Layouts page, where the layout’s card now shows the narrow sidebar.
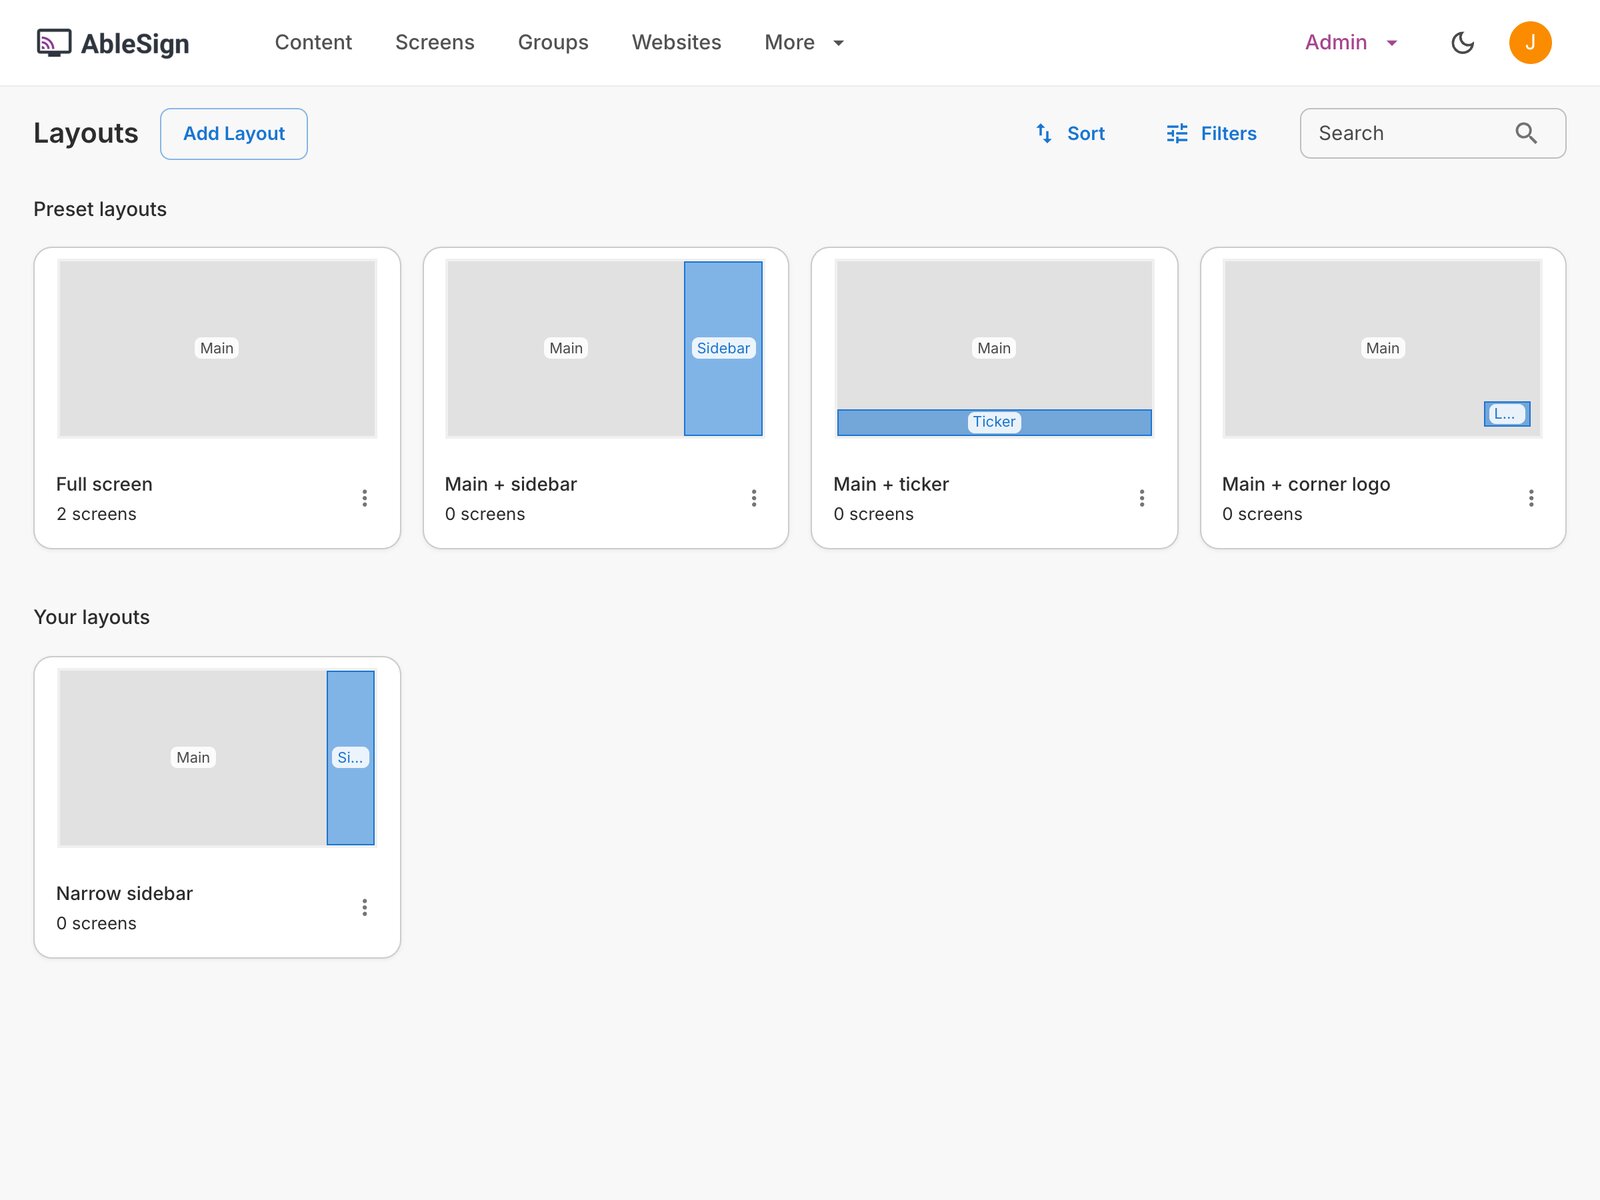
If you later edit a layout that screens are using, saving it changes those screens too.
Apply the layout to a screen
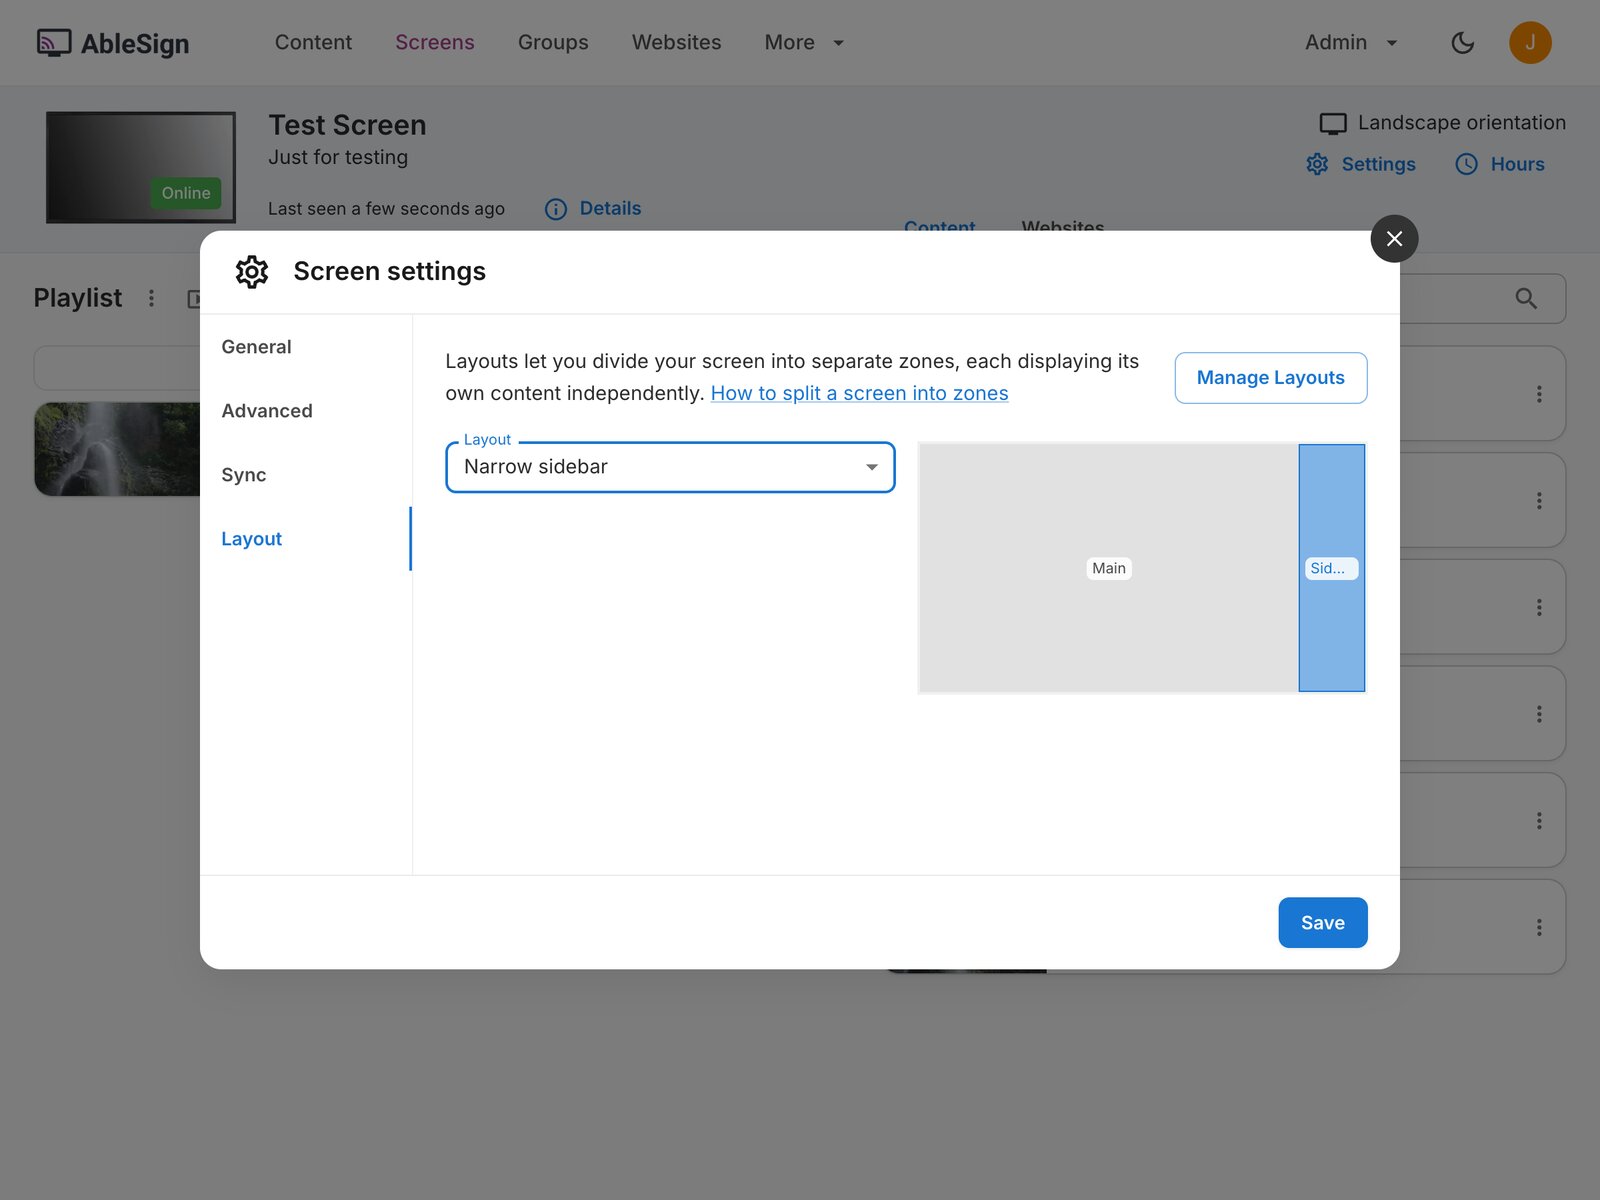
Open the screen and click Settings at the top right of the page, then select the Layout tab. The Layout dropdown lists the preset layouts followed by your own layouts, and the drawing on the right shows a preview of the zones of the selected layout. Choose Narrow sidebar and click Save.
If the screen is a member of a screen group, the layout is set in the group’s settings instead and applies to every screen in the group.
Add content to each zone
The screen page now has a tab for each zone above the playlist, Main and Sidebar, and the name of the layout is shown next to the screen orientation. Each zone has its own playlist.
Select the Sidebar tab, drag content from the content library on the right into its playlist, and click Save Changes. The main zone keeps the playlist the screen had before.
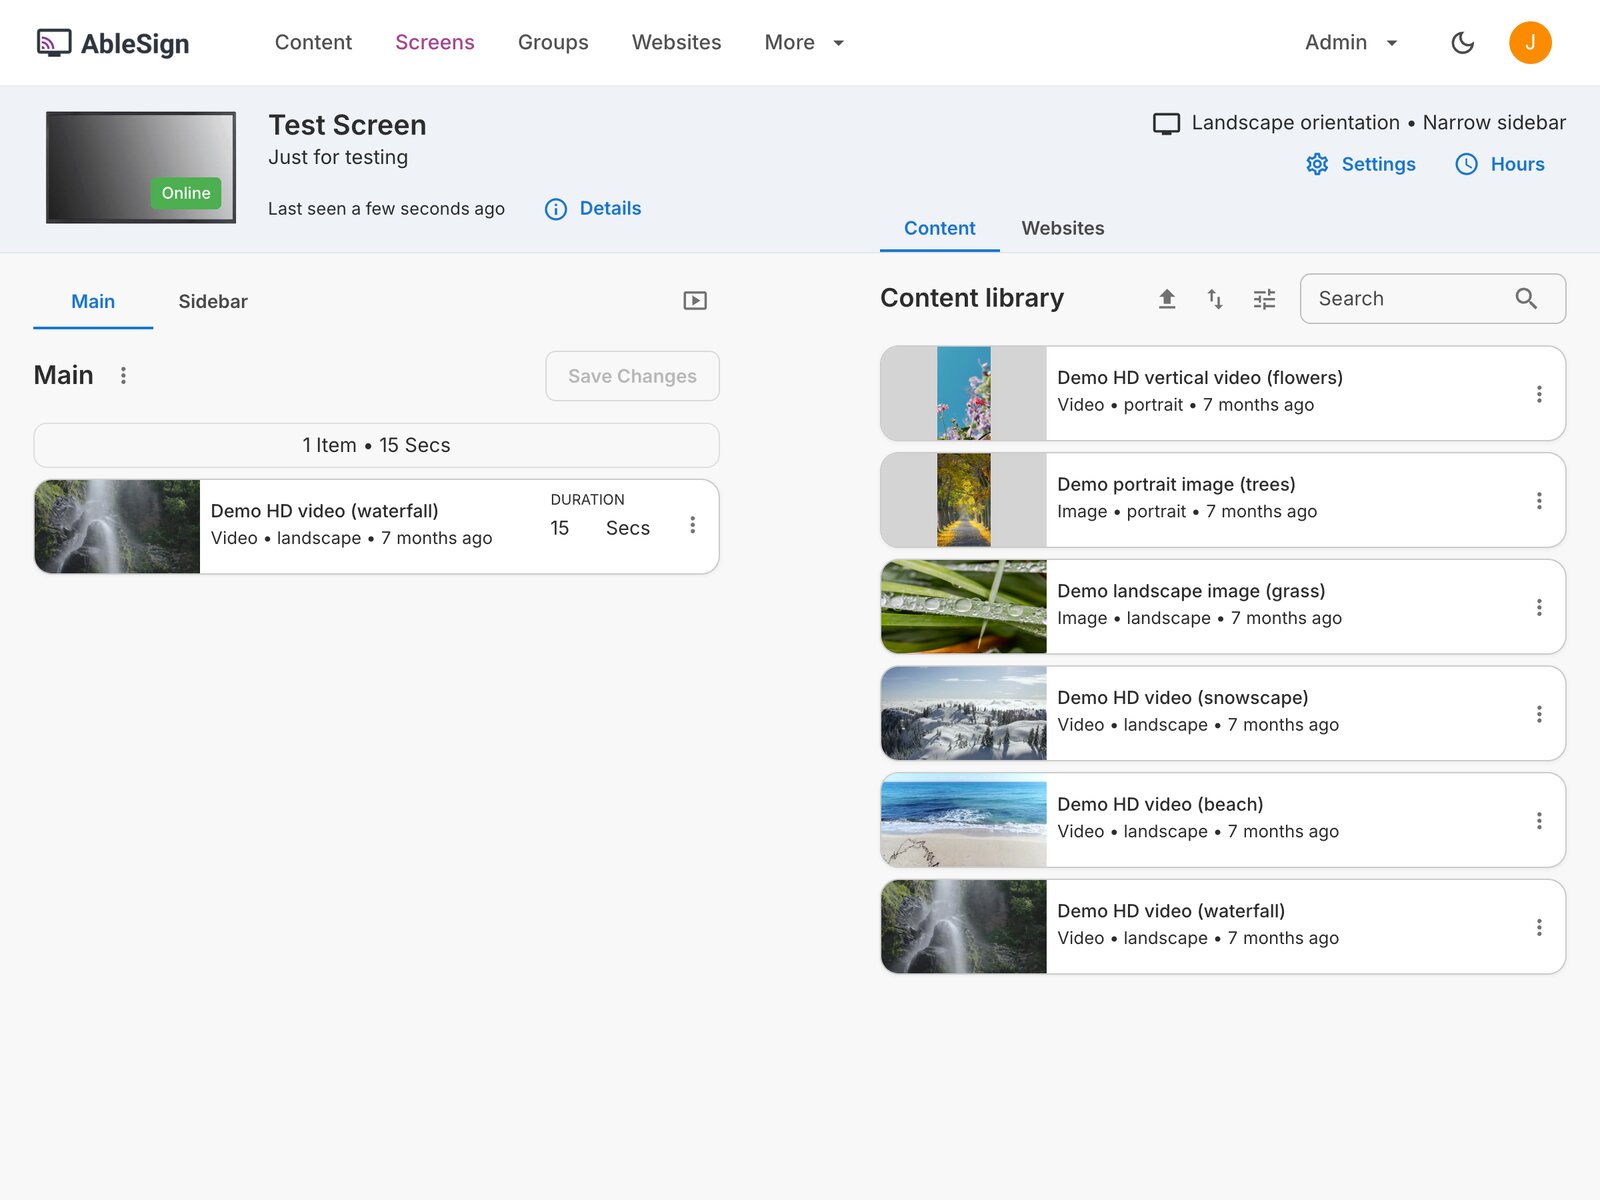
Here we have dragged the demo portrait image into the Sidebar playlist and saved it.
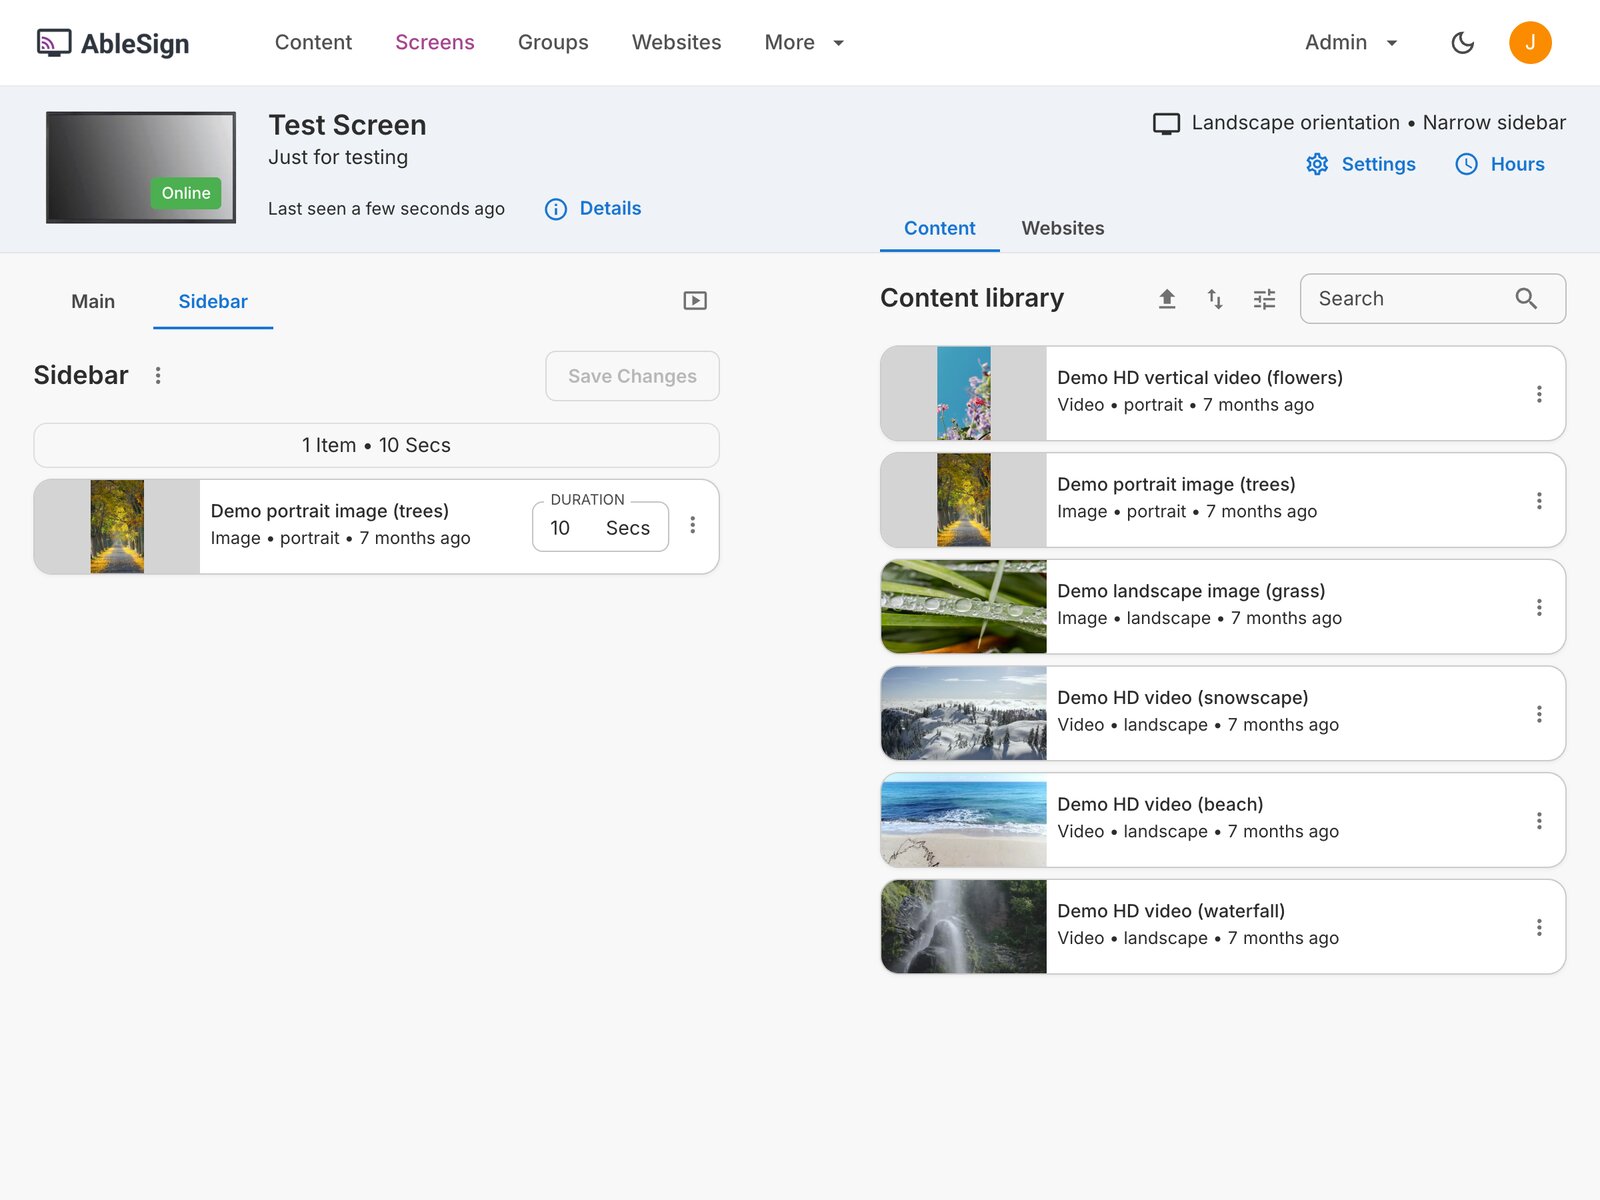
The screen now plays the video in the main zone and the image in the sidebar. A zone’s playlist works in the same way as a full screen playlist. It can hold as many items as you like, and they can be scheduled in the same way.

For an example of a transparent overlay zone, see How to add a logo overlay to your screen.
A zone can also show live web content, such as a clock or a weather ticker. See How to create a screen widget using AI.