Quick start guide to digital signage on BrightSign players
BrightSign offer reliable, commercial grade devices that are designed for 24/7 digital signage use.
The process for installing AbleSign on a BrightSign player is very straightforward and takes just a few moments. This guide is based on a BrightSign LS445 but any modern BrightSign player is supported.
Install AbleSign
Before proceeding please ensure you are running the latest version of BrightSign OS (version 8.5 or later).
The preferred way to install AbleSign is through the control cloud service provided by BrightSign. Please see How to setup a BrightSign player using control cloud. Although a little more involved, the control cloud method allows you to remotely manage your BrightSign player once it has been setup.
An alternative method is to simply copy the installer file to a blank SD card. This is the method we will use in this short guide.
You can download the installer file here.
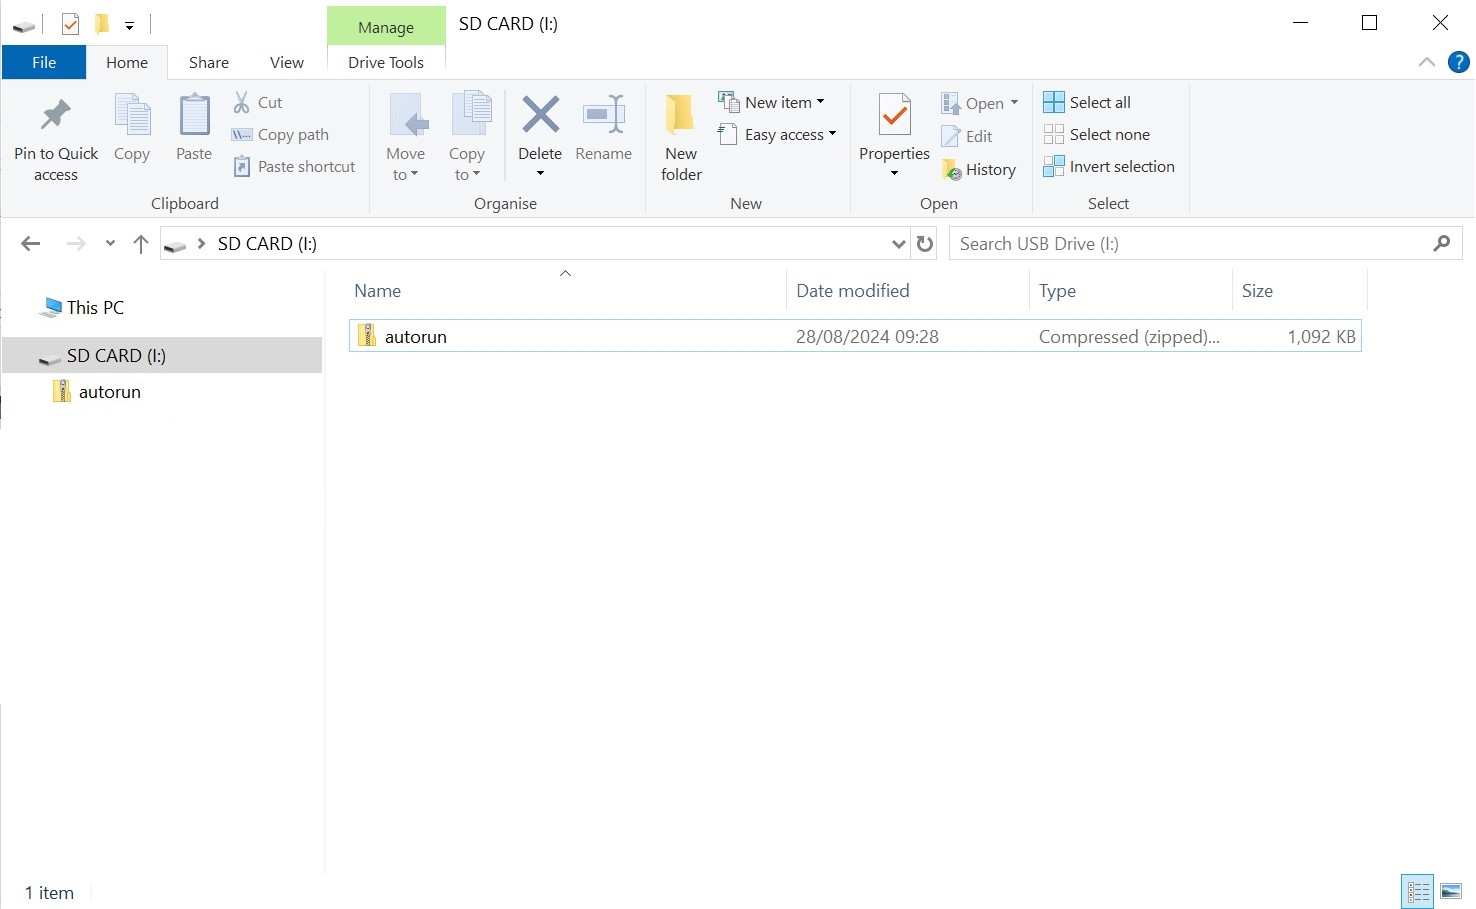
Now insert the SD card into your BrightSign player and power it on.
The BrightSign player will unpack the AbleSign files. It may restart several times during this process.
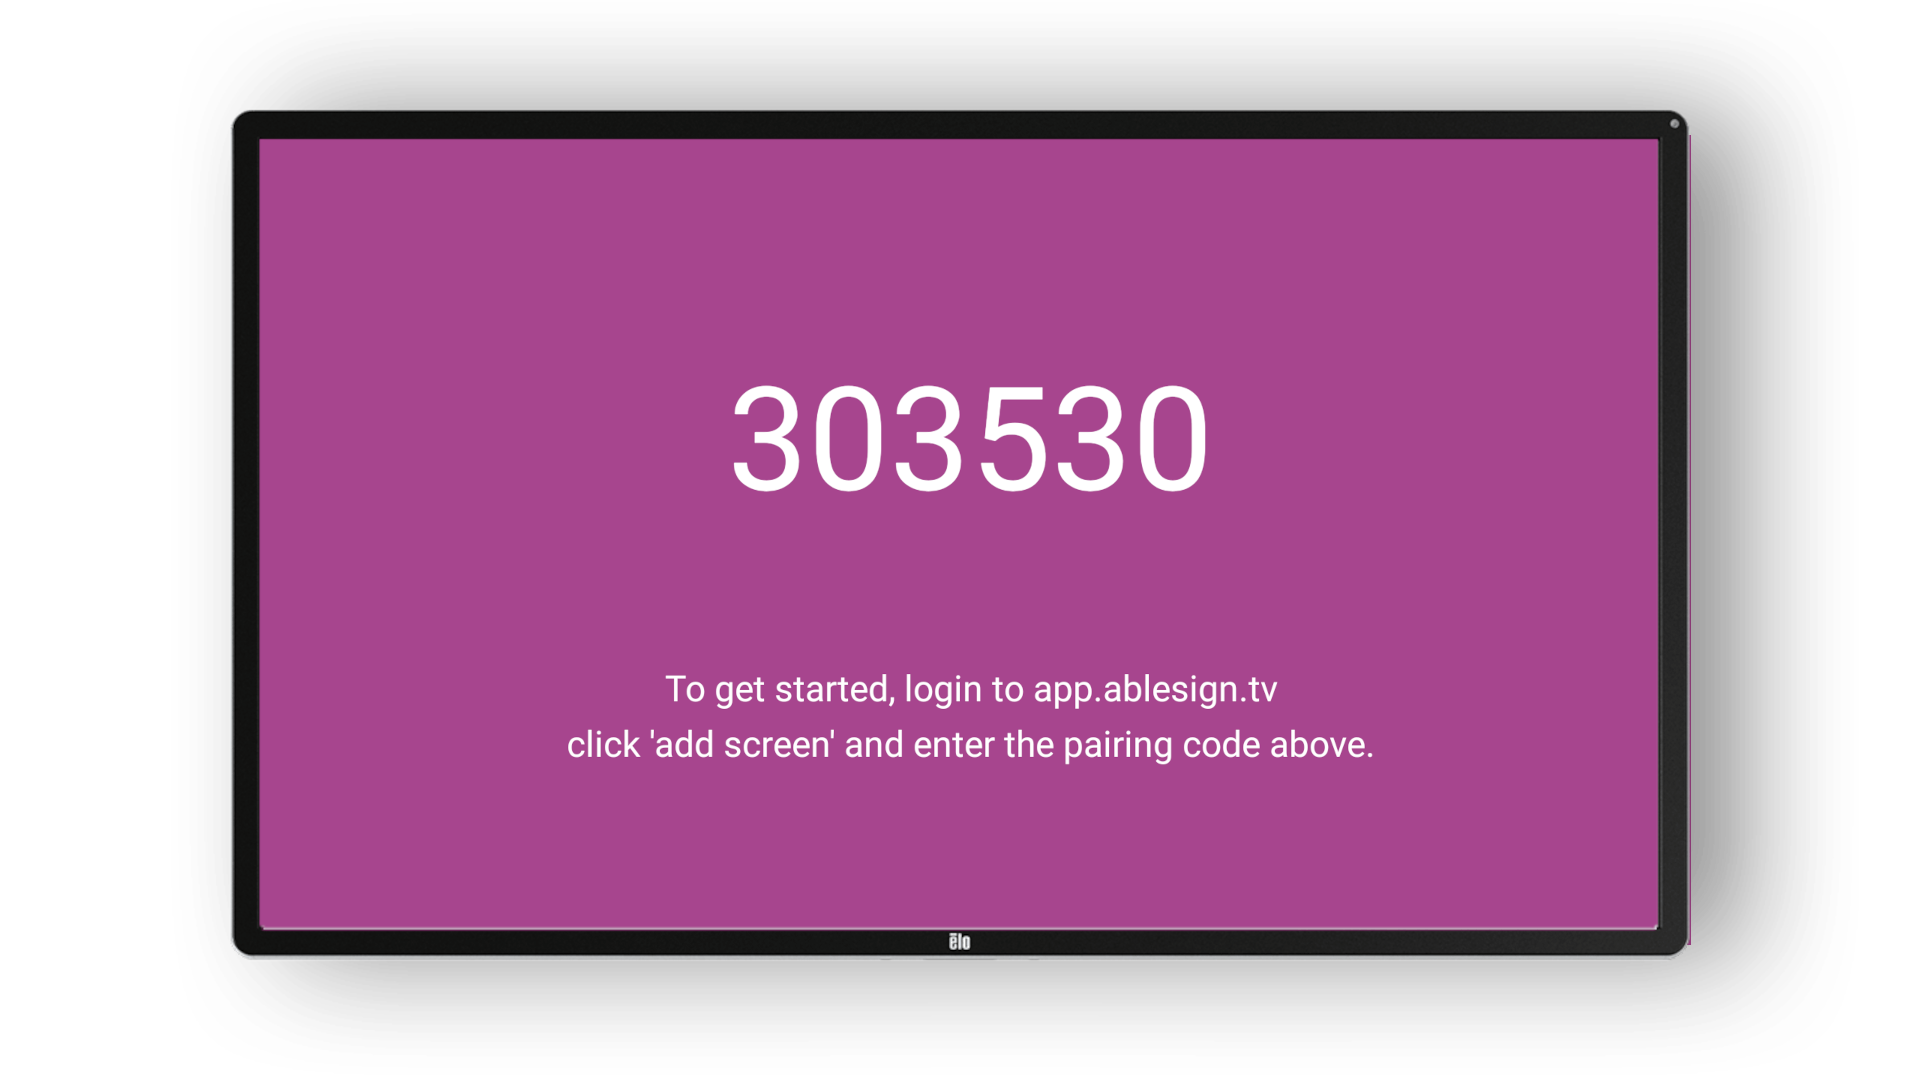
After a short while the AbleSign app will start and display a pairing code.
Login to AbleSign
At this point we can add the screen to our AbleSign account. Create a free account if you don’t have one already.
Login to app.ablesign.tv and click Add Screen.

Enter the pairing code that is being displayed on your screen.
Click Next, and then enter a name for the screen.

Display your content
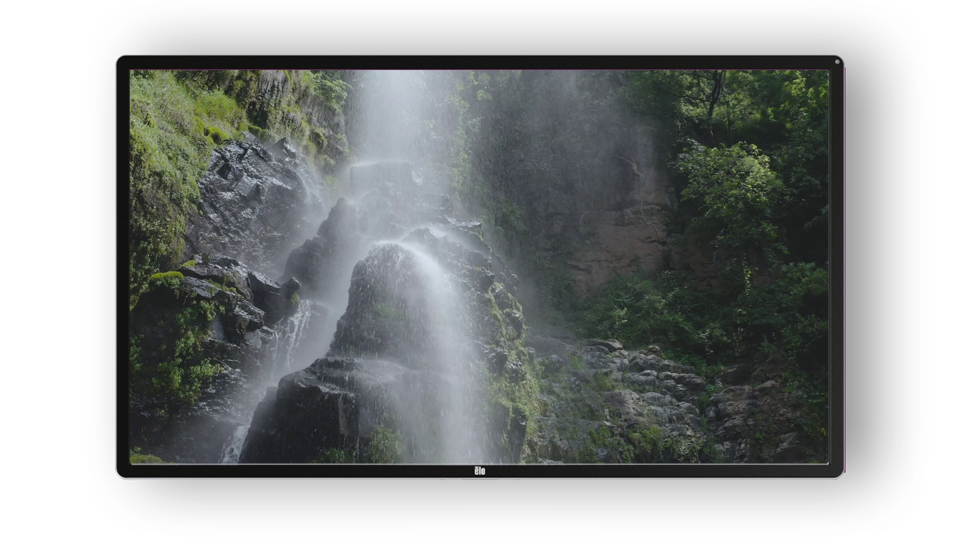
Your BrightSign player is now ready to play your content. Let’s display a video on the screen using the demo content provided.
Drag the waterfall video from the right to your playlist on the left.
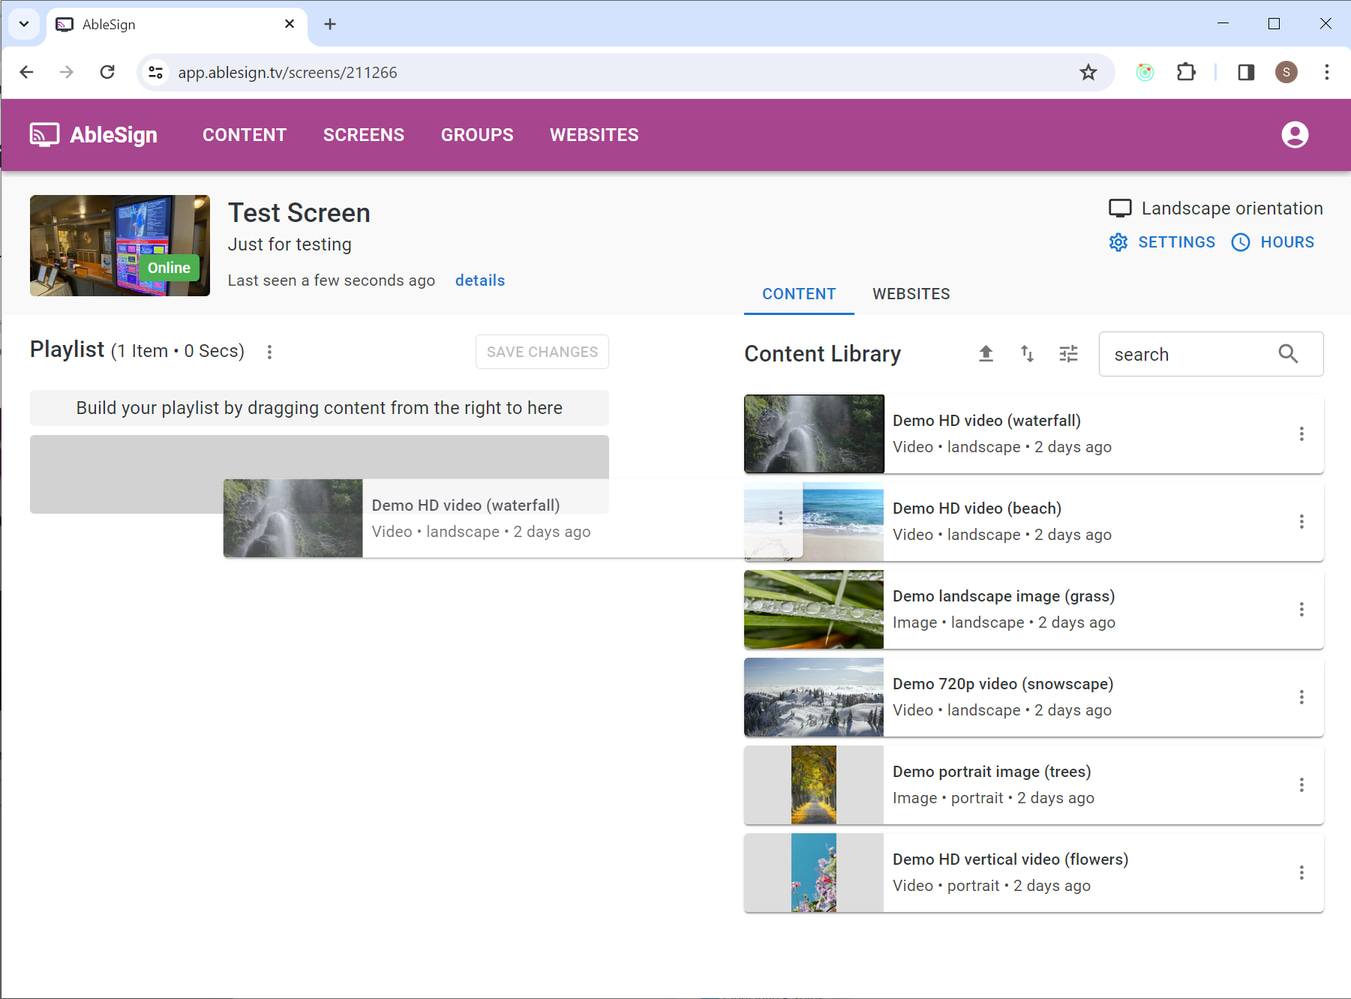
Click on SAVE CHANGES. Your BrightSign player now downloads the playlist and media files, and then starts playing it.